
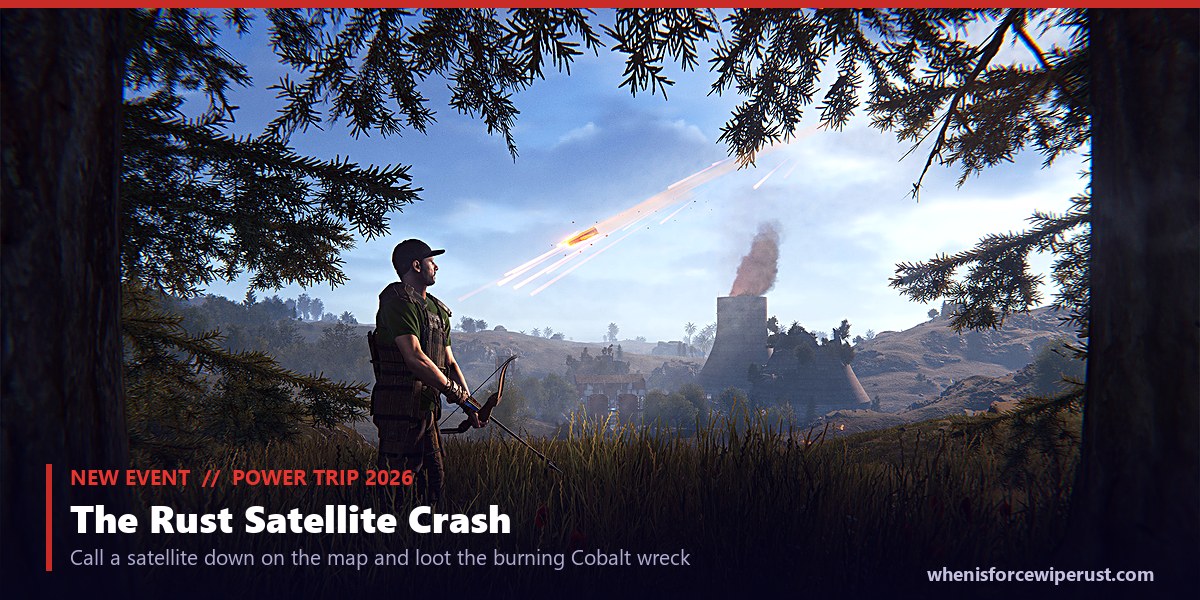
The Satellite Crash Rust event is the flashiest thing the Power Trip update added, and it is exactly what it sounds like: you hijack a satellite in orbit and drop it out of the sky onto the map. Pick where it lands, wait for it to scream down through the clouds, and then loot a burning field full of guns, explosives and high quality metal while half the server races you to it.
It is also the hardest event in the game to switch on. The crashing satellite sits at the very top of the new Power Plant power grid, so before you can call one down, somebody has to feed the plant enough Heavy Fuses to reach maximum power. That gate is what makes this event feel like an endgame reward rather than a fresh spawn’s first stop.
This guide covers the whole run: how to unlock the event, exactly what you need to activate it at Launch Site, how to steer the satellite, the loot each size drops, the fuel trick that decides how many explosives you pull out of the wreck, and how to survive the radiation and the players it draws. Every number here is checked against Facepunch’s own Power Trip devblog and the hands on coverage from Corrosion Hour and RustFront, not guessed. One heads up up front: the event is still in active development, so a few figures are provisional and flagged as such.
- What It Is
- Stats & Facts
- The Power Trip Update
- Power the Plant First
- How to Crash One
- Sizes & Crates
- The Fuel Trick
- Loot & the Wreck
- Cooldown & Timing
- Radiation & Gear
- Defending It
- Crash vs Dish
- Pro Tips
- FAQ
What Is the Satellite Crash in Rust?
The Satellite Crash is a player triggered event added in the Power Trip update. At Launch Site there is a new Satellite Control Computer. When the server’s power grid is maxed out, you can sit at that terminal, take remote control of a satellite that is already up in orbit, and guide it down to a crash site of your choosing anywhere on the map. Roughly ten minutes after you lock the target, the satellite comes down in a streak of fire, slams into the ground, and leaves a burning wreck packed with loot.
Think of it as a callable airdrop, except instead of a plane dropping a single crate, you are dropping a whole satellite. The wreck holds up to five loot crates plus a body you can mine for raw materials, which puts the total haul closer to an Oil Rig run than a normal airdrop. The catch is that it is loud and visible: a red streak crosses the sky, a chat message fires, and an event marker pops up, so anyone on the map can come and contest it.
Because it lives at the top of the Power Plant power grid, the Satellite Crash is the clearest example of what Power Trip is about. The map is no longer a fixed set of features that are always on. Now the biggest events only exist if the server keeps the plant running, and this one is the reward for going all the way to full power.
Satellite Crash Stats and Facts
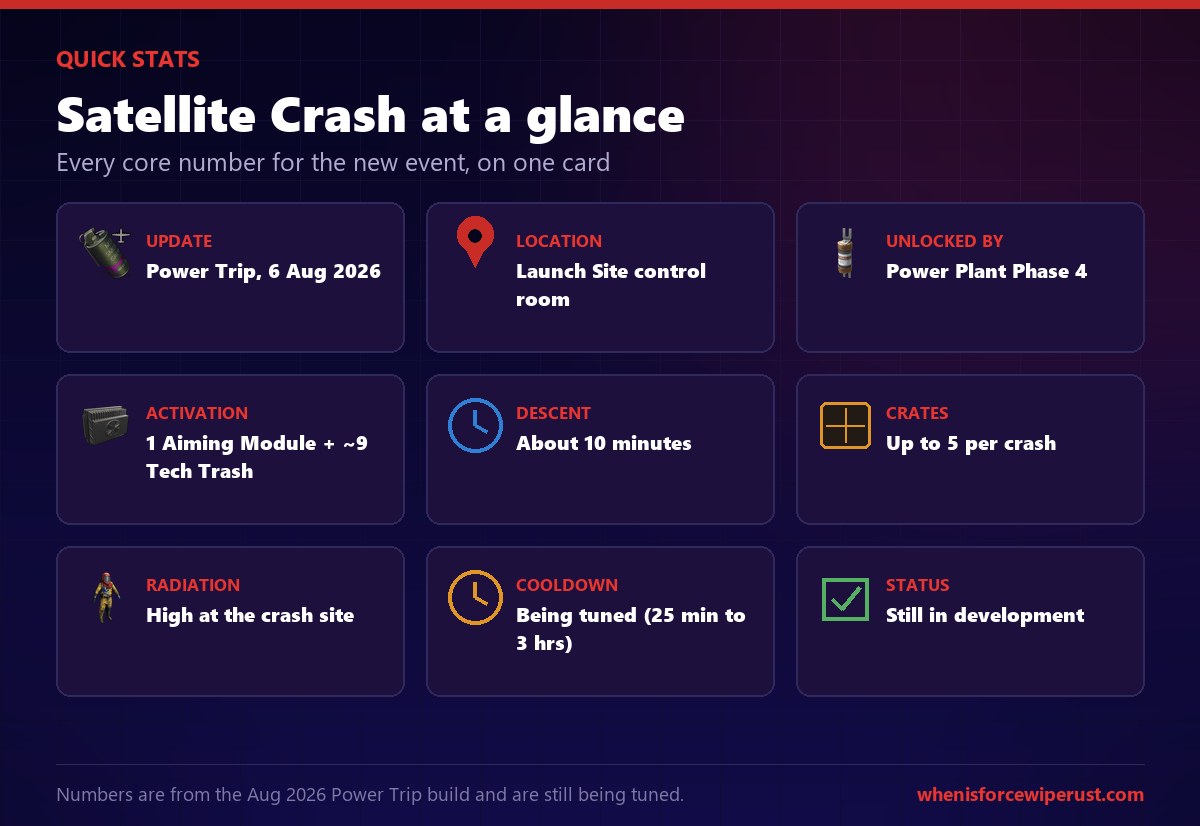
Here is the whole event in one table, pulled from the current Power Trip build rather than an old guide.
| Feature | Detail |
|---|---|
| Added in | Power Trip update, 6 August 2026 |
| Where | Launch Site, the Cobalt control room |
| Unlock requirement | Power Plant grid at Phase 4 (18 Heavy Fuses) |
| Activation cost | 1 MLRS Aiming Module + about 9 Tech Trash |
| Steering | Thruster buttons, about 3 minutes to aim |
| Descent time | About 10 minutes after you lock |
| Crates | 3 to 5 depending on satellite size |
| Wreck materials | HQM, tech trash, metal frags, solar panels, engine modules |
| Radiation | High at the crash site |
| Cooldown | Still being tuned (roughly 25 min to 3 hrs) |
| Status | In active development, numbers provisional |
Two things stand out. First, the activation cost is cheap compared to what you get out: a single MLRS Aiming Module and a handful of tech trash for up to five crates of top tier loot is a great trade. Second, the real cost is the power grid. Getting the plant to Phase 4 is a server wide project, and that is the barrier that stops this event from being spammed.
The Power Trip Update and Why the Satellite Crash Matters
The Power Trip update landed on 6 August 2026 and rebuilt the Power Plant into a server wide power grid. Instead of monument features being on all the time, they now switch on in stages as players feed Heavy Fuses into the plant. The grid climbs through four phases, and each one wakes up more of the map.
The Satellite Crash sits at the very top, Phase 4. It shares that tier with the 75% red recycler and the Airfield Chinook call, which tells you how the developers rank it: this is one of the marquee rewards for a server that commits to keeping the plant lit. Nothing about the event works until the grid is maxed, so if you show up at Launch Site on a fresh wipe and the terminal is dead, that is why. The plant is not powered yet.
Step Zero: Power the Plant to Phase 4
You cannot skip this. The satellite terminal is inert until the grid hits the top level, so the real first step of any crash run happens at a completely different monument.
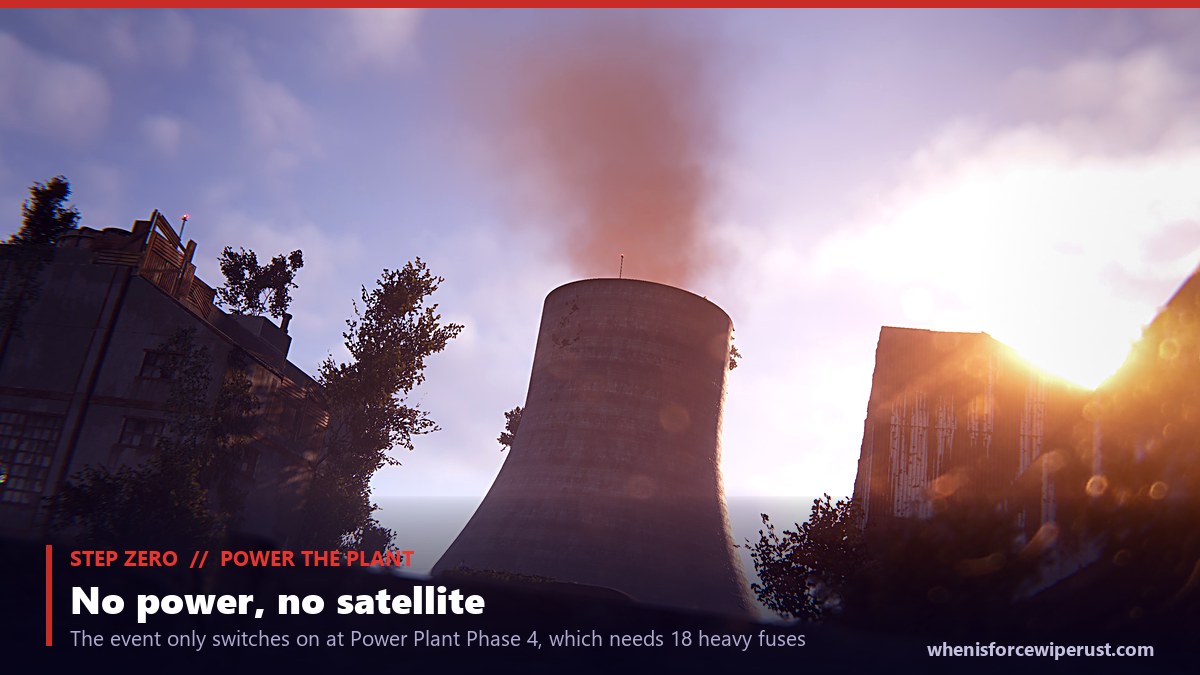
Heavy Fuses drop from military crates at roughly 12% and brown crates at roughly 8%, so you gather them by running monuments. To reach Phase 4 you need 18 of them in the plant’s two heavy fuse boxes, one on the first floor corner and one on the second floor by the windows. Once placed, a fuse cannot be pulled back out, and it burns for 9,600 seconds before dying, so the grid needs constant topping up to stay at max. The full walkthrough, including the loot puzzle and how the other power phases work, is in our dedicated Power Plant guide.
On busy official servers this usually sorts itself out, because plenty of players want the red recycler and the events, so someone keeps the fuses stocked. On a quieter server you may have to power it yourself, which means hoarding 18 Heavy Fuses before you even think about Launch Site. Plan for that, because a stack of fuses is the single biggest thing standing between you and a satellite.
How to Crash a Satellite (Step by Step)
Once the plant is at Phase 4, the actual crash is quick to set up. Head to Launch Site and find the control building with the Cobalt logo, the same corporate branding you see on the loot crates. Inside is the red Control Room with the new Satellite Control Computer.
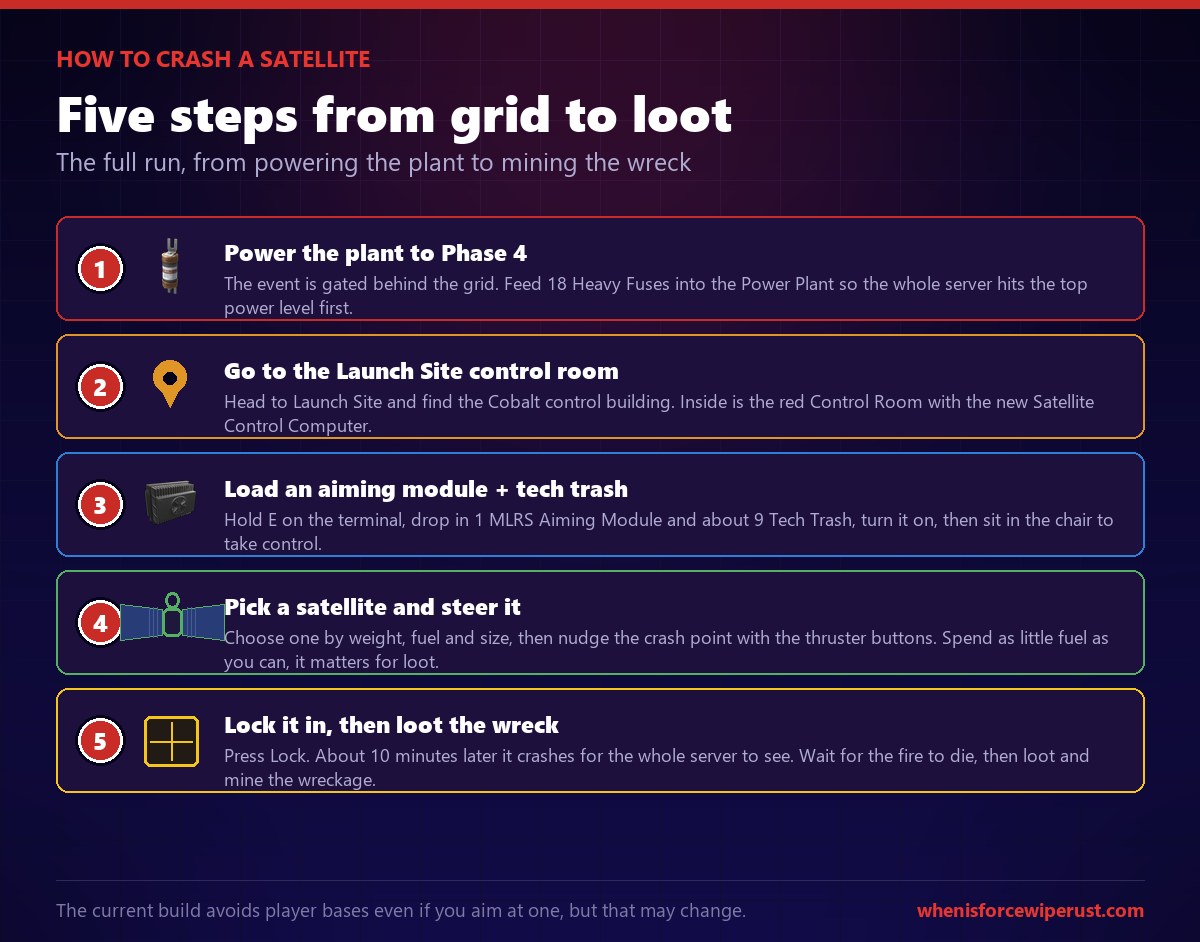
- Power the plant to Phase 4. Get 18 Heavy Fuses into the Power Plant so the whole server is at maximum power. Nothing at Launch Site works until then.
- Go to the Launch Site control room. Enter the Cobalt control building and find the red Control Room sign. The Satellite Control Computer is the machine inside.
- Load the terminal. Hold E on the computer, drop in 1 MLRS Aiming Module and around 9 Tech Trash, then turn it on and sit in the chair to take control.
- Pick a satellite and steer. The screen lists satellites by weight, fuel and size. Choose one, then use the thruster buttons to nudge the projected crash point on the map. There is no manual, so you learn which thruster does what by trial. Spend as little fuel as you can.
- Lock it in. When the target is where you want it, press Lock. You have about 3 minutes to aim before it locks anyway. Roughly 10 minutes later the satellite crashes.
Satellite Sizes and How Many Crates They Drop
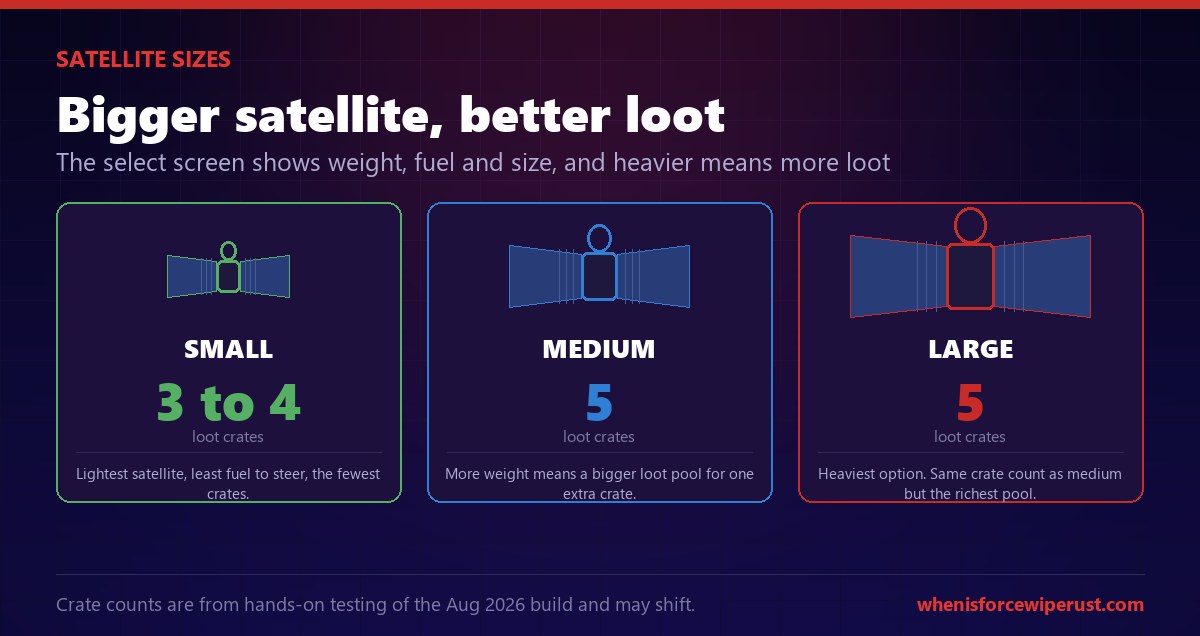
The select screen shows each satellite’s weight, fuel and size, and those three stats decide your haul. Heavier satellites carry a bigger loot pool, so a large one is worth the extra fuel it takes to steer. Here is how the sizes shake out in the current build.
| Size | Loot Crates | Notes |
|---|---|---|
| Small | 3 to 4 | Lightest, easiest to steer, but the fewest crates and the shallowest loot pool. |
| Medium | 5 | The jump from small: one or two extra crates for a bit more weight and fuel. |
| Large Richest | 5 | Same crate count as medium, but the heaviest satellite carries the best loot pool. |
The practical read is that medium and large are where the value is. A small satellite is fine if you are low on fuel or tech trash, but if you have gone to the trouble of powering the plant to Phase 4, you may as well drop the biggest one you can steer. The crates themselves carry a high chance of weapons and explosives, so even a small crash can hand you an AK or a rocket.
The Fuel Trick: More Explosives From the Wreck
This is the detail most players miss, and it is the single best reason to steer carefully. The satellite’s fuel does double duty. It obviously runs out if you burn it all lining up the perfect crash spot, but it also decides the condition of the engine modules in the wreck, and those engine modules recycle into Explosives.
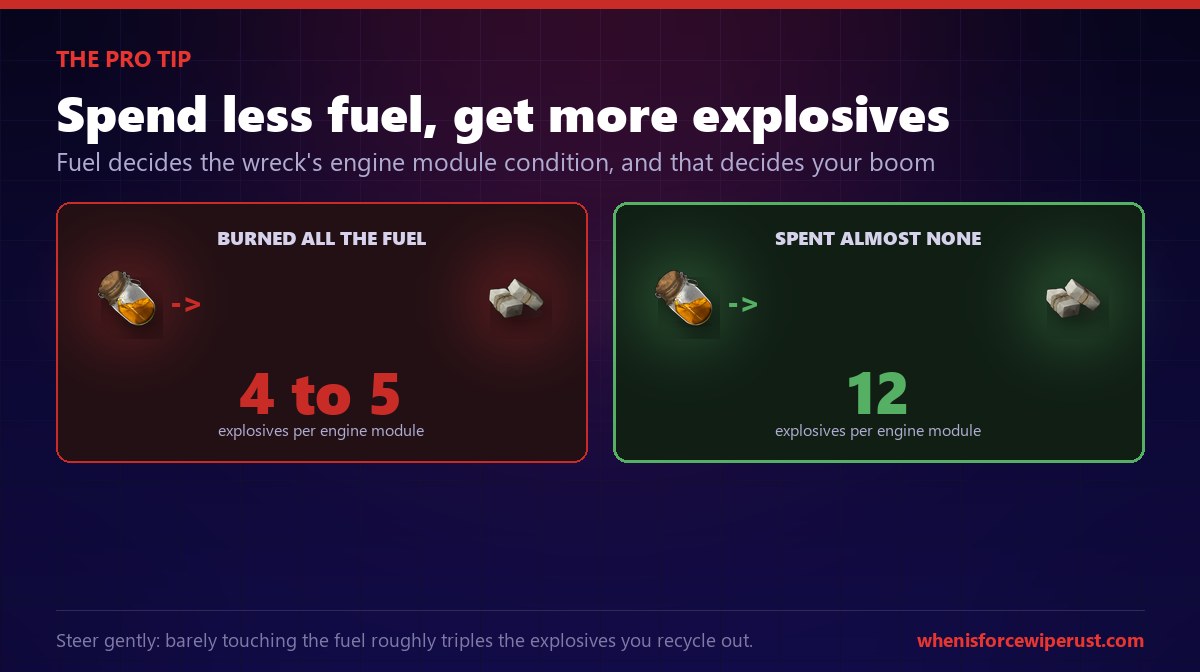
The maths is stark. If you burn all the fuel wrestling the satellite into position, the engine modules come down in poor shape and recycle into only 4 to 5 Explosives each. If you spend almost none, the same modules stay in good condition and give roughly 12 Explosives each. That is close to triple the boom for the same event, just for steering gently.
Satellite Crash Loot and Mining the Wreck
When the satellite hits, the crash site is on fire. Give it a couple of minutes to burn out before you run in, or you will take fire damage looting the crates. Then there are two separate payouts: the loot crates, and the wreck body itself.

The loot crates, up to five of them, have a high chance of carrying weapons and explosives: C4, rockets, M249s, AKs and bolt actions all show up, along with high quality metal and components. That alone puts a large crash on par with a good Oil Rig run, with no scientists to fight on the way in.
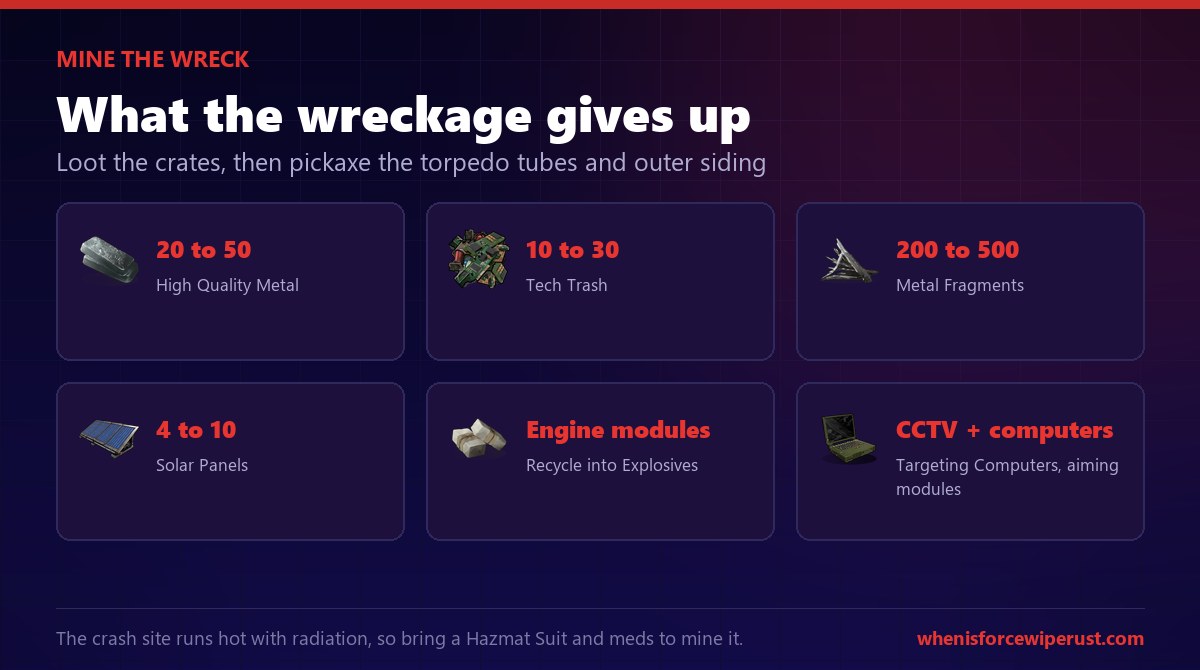
The wreck body is the second half, and plenty of players forget it. Pickaxe the torpedo tubes and the outer siding and you pull raw materials straight out of the hull.
| From the Wreck | Amount | Why It Matters |
|---|---|---|
| High Quality Metal | 20 to 50 | Enough HQM to kit out armour and upgrade a base section. |
| Tech Trash | 10 to 30 | Recycles into scrap and HQM, or crafts straight into C4. |
| Metal Fragments | 200 to 500 | Raw build material, always useful. |
| Solar Panels | 4 to 10 | Rare electrical loot for wiring a base off the road grid. |
| Engine Modules | Several | Recycle into Explosives. Fewer fuel burns means more per module. |
| CCTV + Computers | Varies | CCTV cameras, targeting computers and MLRS aiming modules. |
Add it up and a good crash gives you a stack of HQM, the components for a turret setup, solar panels you would normally have to farm, and an explosives haul from the engine modules. Feed the tech trash and modules into a recycler and you convert most of the wreck into scrap, HQM and Explosives. The aiming modules you recover can even fund your next crash, so a good run partly pays for itself.
Cooldown, Timing and Reset
Timing is the number Facepunch is still actively tuning, so treat this section as a moving target and check your own server. The consistent parts first: you get about 3 minutes to steer before the target locks, and about 10 minutes of descent between the lock and the crash. In that 10 minute window the streak is visible across the map, so expect company.
The cooldown between crashes is where sources disagree, because it has changed across builds. Early hands on footage showed a satellite roughly once an hour, some staging builds allowed one as often as every 25 minutes, and written previews point to a reset closer to 3 hours. The honest answer is that it is somewhere in that range and it will move before the event is finalised. What is clear is that it is not something you can spam, so plan each crash rather than firing them off carelessly.
Radiation and What to Bring
The crash site runs hot with radiation, and it stays hazardous for a while after the fire dies, so you cannot loot it in a road sign kit and expect to walk away. This is not optional the way it is at some monuments.
Because the crash can land anywhere you aim it, you also do not get the usual monument cover. It is an open field with a burning wreck in the middle, so plan your approach and your exit as if you are pushing an open airdrop, not clearing a building.
How to Defend the Crash Site
The entire server knows a satellite is coming down the moment you lock it, thanks to the sky streak, the chat message and the map marker. That 10 minute descent is plenty of time for other groups to move toward the projected impact zone, so a contested crash is common on populated servers.
The trick a lot of players use is to set up before the fire even goes out. While the wreck is still burning and unlootable, drop a quick Auto Turret or two facing the likely approach, and hold the high ground or a rock nearby. Since you have to wait a couple of minutes for the fire anyway, you may as well spend that time fortifying rather than standing around. Then loot fast, prioritise the crates over mining the hull if people are pushing, and be ready to leave with the guns rather than dying for the last of the metal.
Satellite Crash vs the Satellite Dish (Do Not Confuse Them)
This trips up a lot of searches, so it is worth spelling out. The Satellite Crash and the Satellite Dish are two completely different things that happen to share a word.
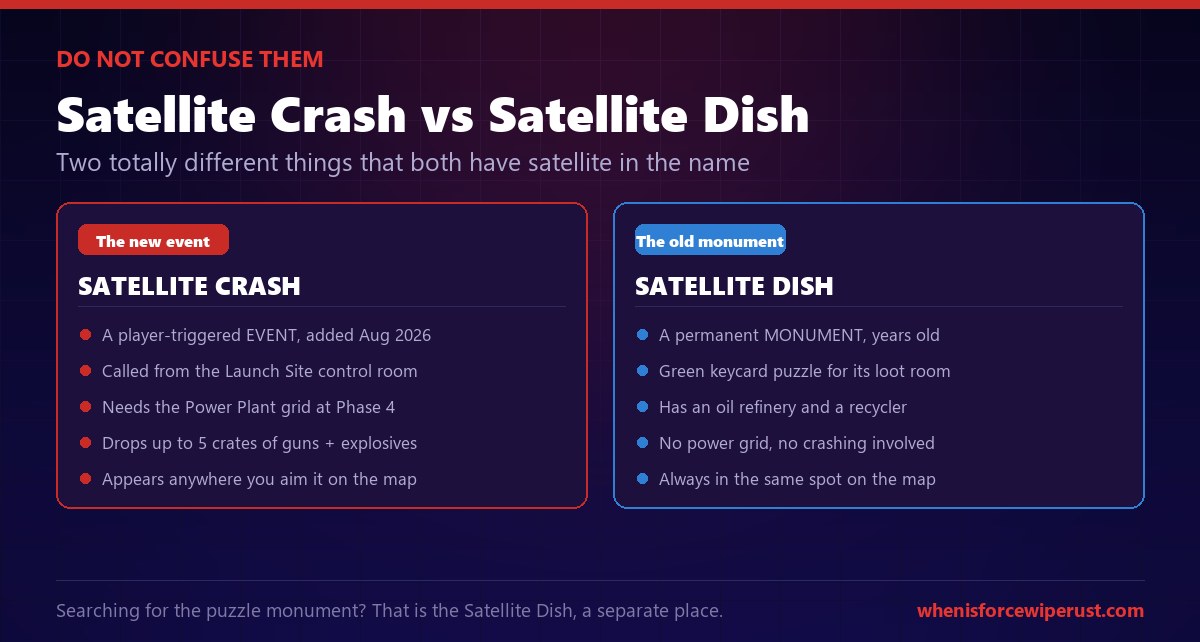
The Satellite Crash is the new Power Trip event this whole guide is about: a player triggered crash you call from Launch Site, gated behind the Power Plant grid, that can land anywhere on the map. The Satellite Dish is an old, permanent monument that has been in the game for years. It has a green keycard puzzle for its loot room, an oil refinery and a recycler, it never crashes anything, and it always sits in the same spot. If you are looking for the puzzle and the green card room, that is the Satellite Dish, and you will find it in our Rust monuments guide, not here.
Powered the plant just to crash a satellite? Every Heavy Fuse, every wired connection and all your loot resets on the force wipe. Check the countdown before you sink a stack of fuses into the grid.
Force Wipe CountdownPro Tips for the Satellite Crash
- Steer with almost no fuel. The less you burn, the better the engine modules, and that roughly triples the Explosives you recycle out. This is the biggest single tip.
- Drop the biggest satellite you can. Medium and large give five crates and the best loot pools. Save the small one for when you are short on fuel or tech trash.
- Aim for open ground near a road. The crash avoids bases, so pick a spot you can drive to and escape from, not a walled compound.
- Set up defence while it burns. You have to wait for the fire anyway, so use that time to place a turret and hold the high ground.
- Do not forget the hull. Pickaxing the torpedo tubes and siding is half the haul: HQM, solar panels and the engine modules.
- Bring a Hazmat and meds. The site is highly radioactive and stays that way while you mine, so the environment can kill you before a player does.
- Recover aiming modules to self fund. The wreck can hand back MLRS aiming modules, so a good crash partly pays for the next one.
- Expect a crowd. The whole server sees the streak, so loot the crates first, mine second, and be ready to leave with the guns.
Rust Satellite Crash FAQ
How do you crash a satellite in Rust?
What do you need to activate the Satellite Crash event?
Where is the Satellite Crash terminal in Rust?
How much loot does the Satellite Crash give?
Why does fuel matter in the Satellite Crash?
What is the Satellite Crash cooldown?
Does the Satellite Crash need the Power Plant?
Is the Satellite Crash the same as the Satellite Dish?
Can you aim the satellite at someone’s base?
How radioactive is the Satellite Crash site?
Does the whole server see the Satellite Crash?
Do you keep the Satellite Crash unlock after a wipe?
Final Thoughts
The Satellite Crash is the event Power Trip was built to show off. It is a callable meteor of loot that turns the Power Plant power grid from a base building convenience into the thing that unlocks the flashiest moment on the map. Powering the plant to Phase 4 is a real commitment, but the payoff is up to five crates of guns and explosives plus a wreck you can strip for HQM, solar panels and a pile of Explosives.
If you take one thing away, make it the fuel trick: steer gently, save the fuel, and the wreck gives you roughly triple the Explosives. That single habit turns a good crash into a genuine explosives farm. Pair it with a big satellite, a Hazmat Suit and a plan for the crowd the streak brings, and the Satellite Crash is one of the best endgame runs in the game.
Just remember it all rides on the grid, and the grid rides on the wipe clock. Fuses, power level, loot, the lot resets on the force wipe. Check the countdown before you pour fuses into the plant, because the satellite you were about to call goes back into orbit the moment the timer hits zero.
Sources
- The Satellite Crash event, the aiming module activation at Launch Site, the descent being visible to the whole server, and the Phase 4 power requirement, plus the in game screenshots: Facepunch, Power Trip Update
- The 9 Tech Trash plus 1 MLRS Aiming Module activation cost, the red Control Room location, the weight, fuel and size select screen, the roughly 10 minute descent, the pickaxe harvest, the high radiation and the HQM, CCTV, targeting computer, aiming module and tech trash loot, plus the roughly 3 hour cooldown: Corrosion Hour, Player-Maintained Monument System
- The 9 to 10 Tech Trash plus aiming module trigger cost, the descent timing, the Phase 4 requirement and the explicit “subject to change” development warning: RustFront, August 2026 Update
- Full Power Plant power phases, Heavy Fuse drop rates and burn time, and the grid mechanics behind the unlock: whenisforcewiperust.com, Rust Power Plant Guide
- The game itself: Facepunch Studios