
Building is the heart of survival in Rust. Everything you loot, farm and research is only as safe as the walls around it, and those walls are something you place, shape and upgrade yourself. Master building in Rust and a raid becomes an expensive gamble for the other team; ignore it and you will wake up to an empty base and a hole where your loot used to be.
What trips up new players is that a base is not built at its final strength. Every piece starts as flimsy twig and is upgraded through four grades with a hammer. On top of that sit two invisible rules – stability, which decides whether a piece stands or collapses, and building privilege from the Tool Cupboard, which decides whether you can build at all. Get those wrong and your base falls apart before a raider ever shows up.
This Rust building guide covers the whole system end to end: the two tools you build with, all five building grades with their health and upgrade cost, how to lay out a base step by step, how stability and the Tool Cupboard work, the core building pieces, and the veteran habits that stop the classic mistakes. Every number here is checked against the Rust Wiki, Corrosion Hour and Rustafied, not guessed.
- What Is Building
- Tools You Build With
- Building Grades
- How to Build a Base
- Stability & Privilege
- Building Pieces
- Upkeep & Decay
- Pro Tips
- FAQ
What Is Building in Rust?
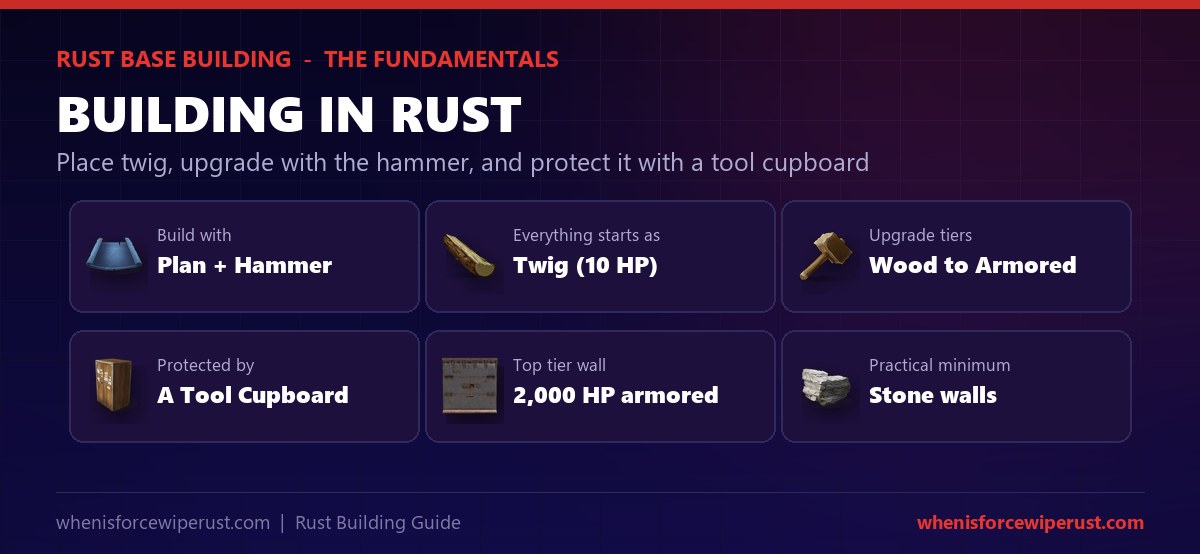
Building is the system for constructing your own base out of placeable pieces – foundations, walls, floors, doorways and roofs. Unlike deployables such as a furnace or a Tool Cupboard, building pieces snap to a grid and form the actual structure you live in, store loot in and defend. A base is the single biggest thing separating a naked freshspawn from a geared player who keeps what they farm.
The core idea is that pieces are built cheap and upgraded expensive. You place a piece as free twig, which is instant but almost useless, then spend materials to upgrade it into something a raider has to work for. That two-step design is why the same base can cost a handful of wood or thousands of high quality metal, depending on how far you take it.
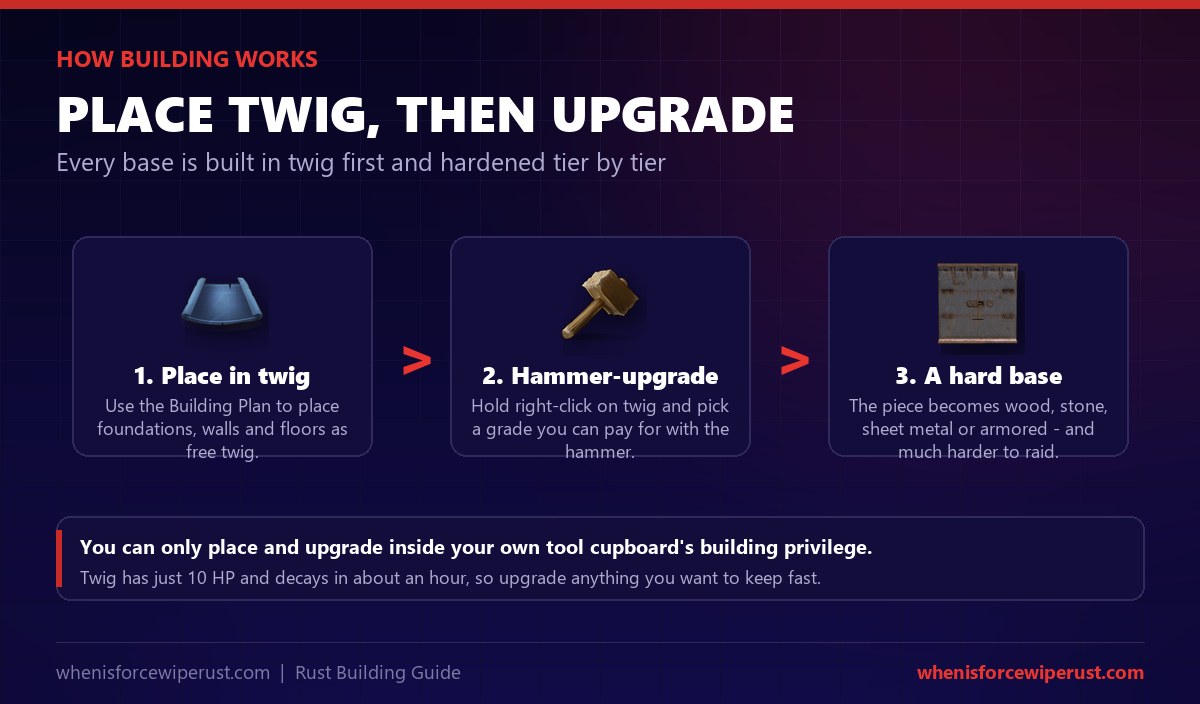
The thing to understand up front is that nothing you build is safe until you upgrade it and protect it. Twig decays in about an hour and dies to a single hatchet, and any structure without a Tool Cupboard slowly rots on its own. Real building is the loop of placing pieces, upgrading the ones that matter, and keeping a stocked TC in the middle of it all.
The Tools You Build With
You need surprisingly little to build an entire base. Three items cover placing, upgrading and protecting – and the first two are default blueprints you can craft from the moment you spawn.
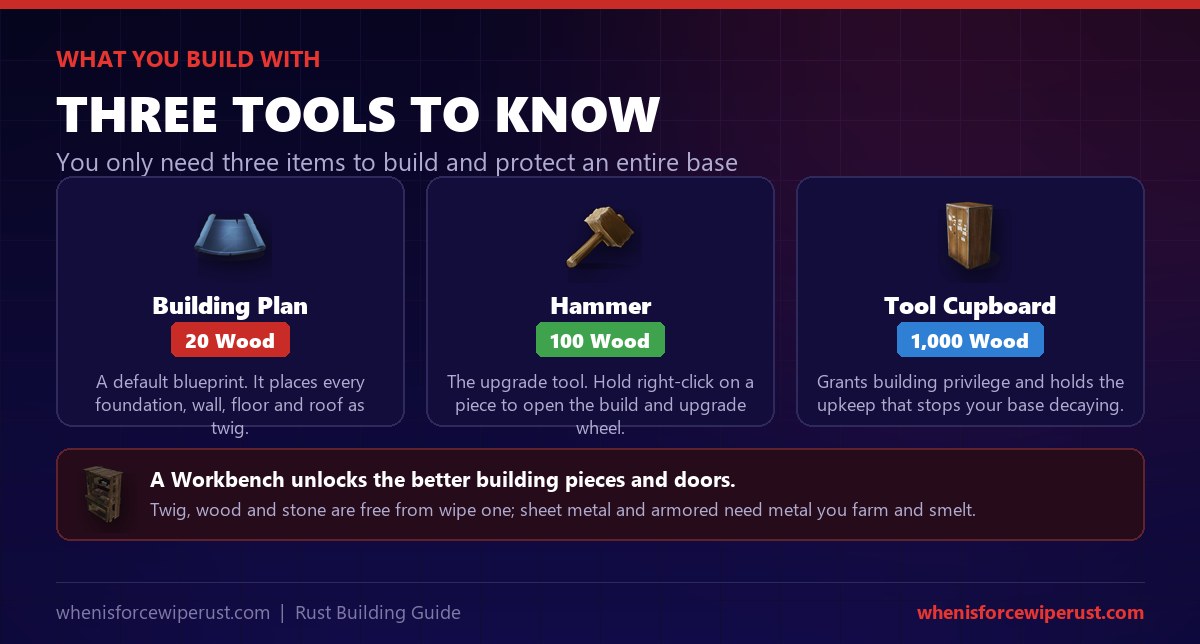
- Building Plan (20 wood). A default blueprint. Equip it and it shows a ghost of the piece you are placing – scroll to switch between foundation, wall, floor, doorway and more. Everything it places starts as twig.
- Hammer (100 wood). The upgrade and repair tool. Hold right-click on a piece to open the radial menu, then pick a grade to upgrade to or choose rotate, repair or demolish.
- Tool Cupboard (1,000 wood). Not a building piece, but the item that makes a base a base. It grants building privilege and holds the upkeep resources that stop everything decaying.
Rust Building Grades (Tiers)
This is the part most people come for. Every building piece can be upgraded through the same five grades, and the health and cost below are for one wall – other pieces cost roughly the same to upgrade. These values are identical on every vanilla server.
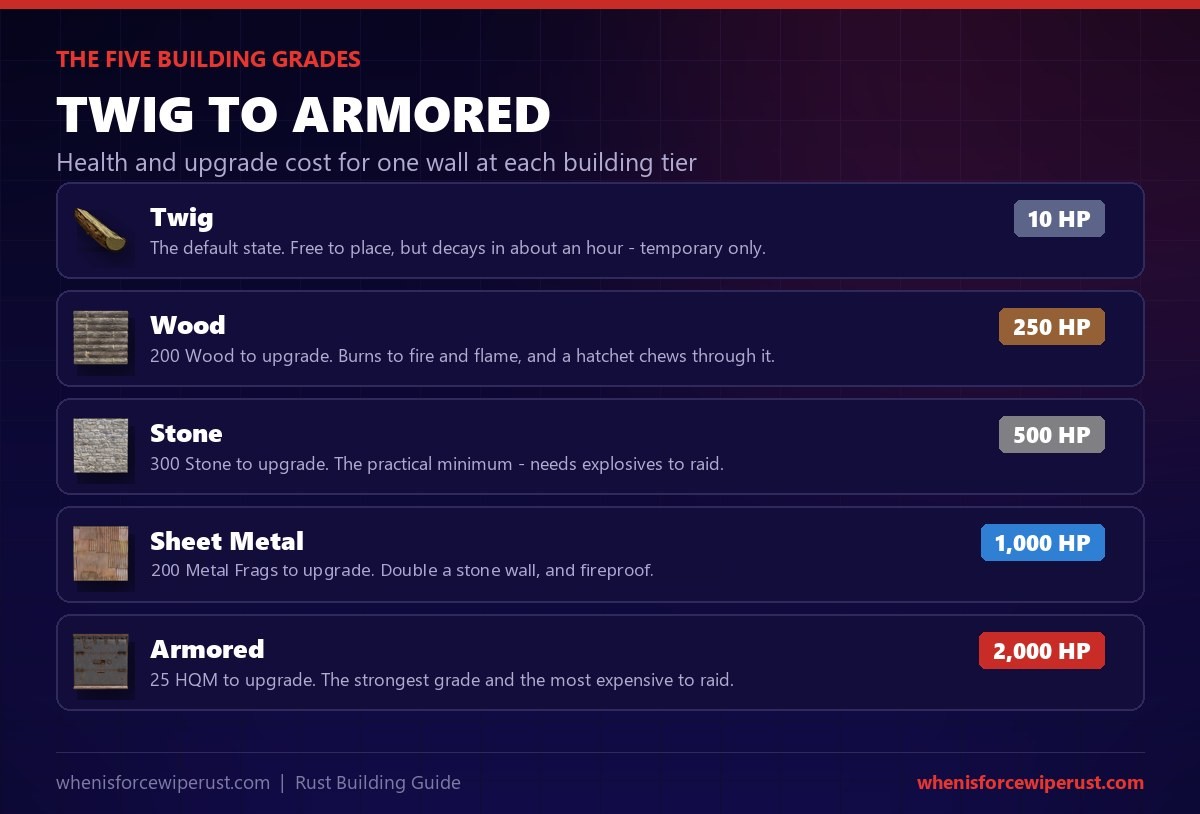
| Grade | Health | Upgrade cost | C4 to raid | Notes |
|---|---|---|---|---|
| Twig | 10 HP | 50 Wood (to place) | 1 | Decays in ~1 hour. Temporary layout only. |
| Wood | 250 HP | 200 Wood | 1 | Burns to fire; a hatchet chews through it. |
| Stone | 500 HP | 300 Stone | 2 | The practical minimum – needs explosives. |
| Sheet Metal | 1,000 HP | 200 Metal Fragments | 4 | Fireproof; double stone. |
| Armored | 2,000 HP | 25 HQM | 8 | Strongest grade; most expensive to raid. |
The jump that matters most is twig to stone. Wood is barely a speed bump – fire arrows and a flame thrower melt it – while stone forces a raider to bring explosives, which cost them real resources and time. If you only upgrade one thing before logging off, make it every outer wall to stone.
How to Build a Base Step by Step
A first base does not need to be clever, it needs to be sealed and upgraded. Here is the order that turns an empty patch of ground into a locked base you can leave loot in.
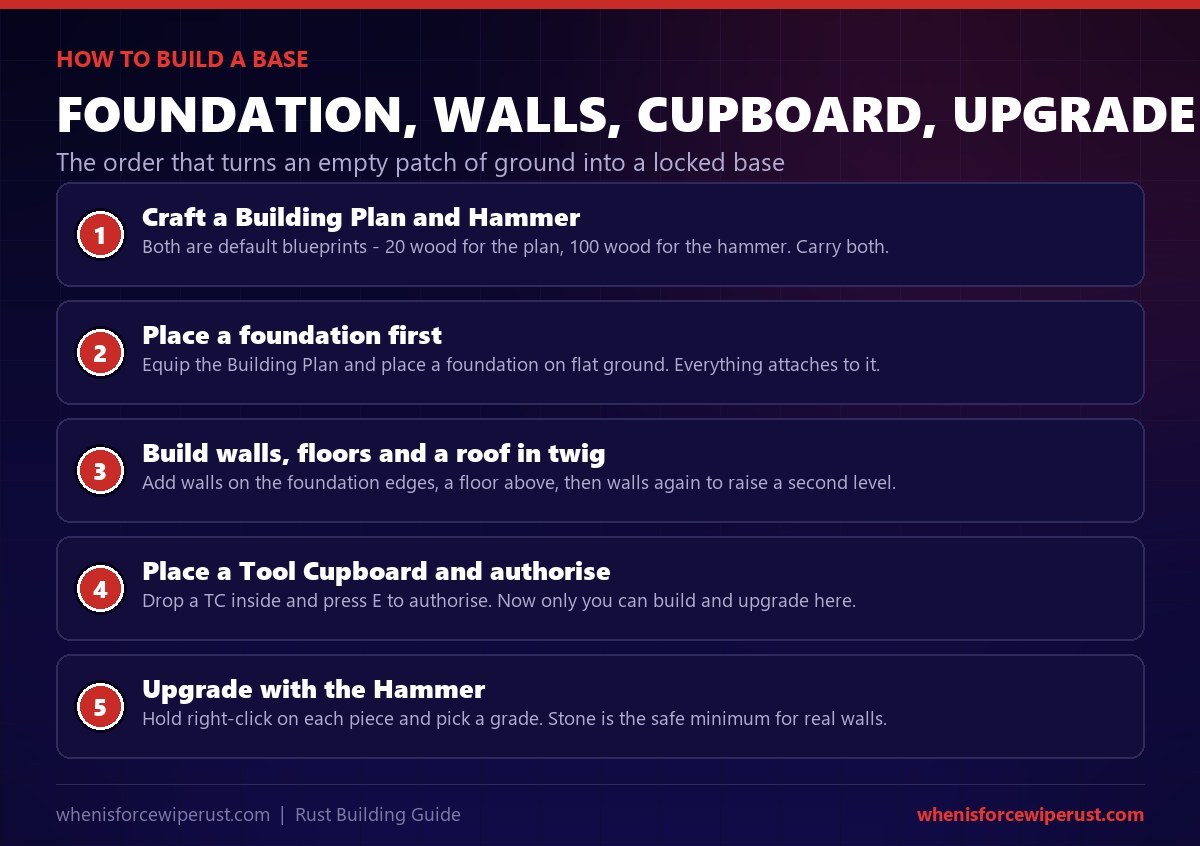
- Craft a Building Plan and Hammer. Both are default blueprints – 20 wood for the plan, 100 wood for the hammer. Carry both any time you plan to build.
- Place a foundation first. Equip the Building Plan and set a foundation on flat ground. Every wall and floor attaches to it, so the foundation defines your footprint.
- Raise the shell in twig. Add walls around the foundation edges, drop a floor on top for a ceiling, then repeat to add a second level. Leave one wall as a doorway.
- Place and authorise a Tool Cupboard. Set a TC inside and press E to authorise. Now only you have building privilege here, and the base can hold upkeep.
- Upgrade with the Hammer. Hold right-click on each piece and pick a grade. Take outer walls to stone at minimum, then fit a door and a code lock.
Stability and Building Privilege
Two hidden rules break more new bases than any raider does. Understanding them is the difference between a base that stands and one that falls down on its own.
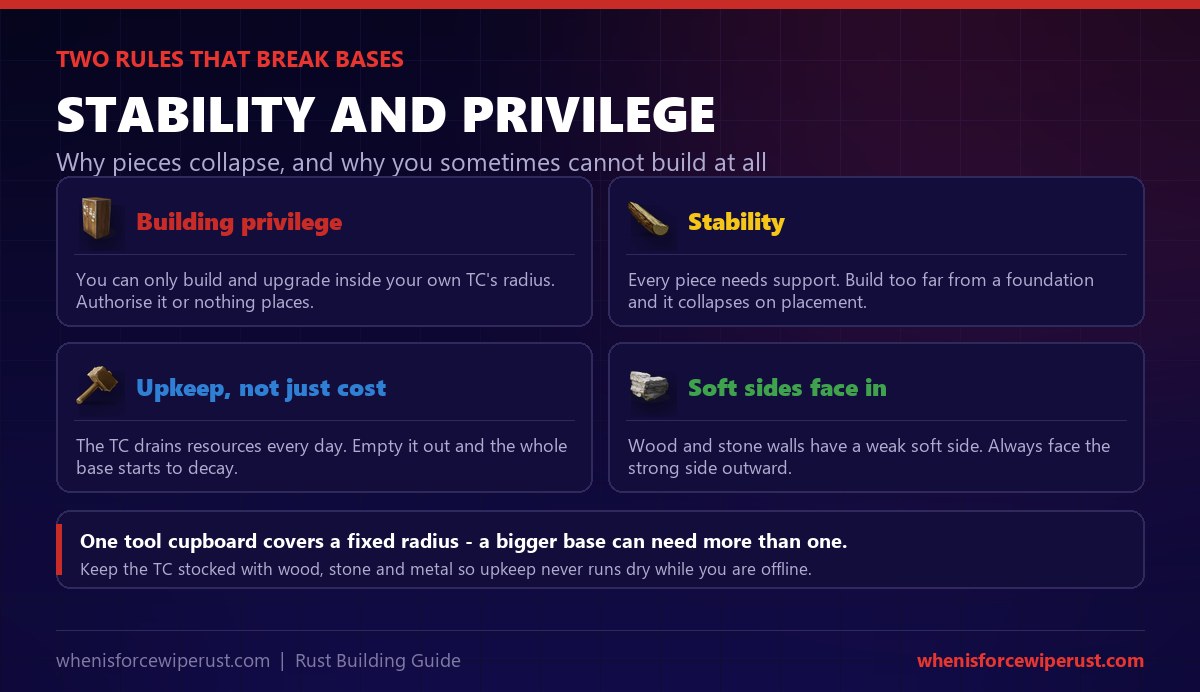
- Building privilege. You can only build, upgrade or rotate pieces inside the radius of a Tool Cupboard you are authorised on. Someone else’s TC nearby can even block you from building at all – this is how bases get “walled in”.
- Stability. Every piece has a stability value that flows down from foundations. Build too far out or too high with nothing supporting it and the piece drops to zero stability and collapses the moment you place it. Pillars, walls and floors below all add support.
- Soft sides. Every wall has a strong outer face and a weaker inner “soft side” that a pickaxe can break faster. Always place walls so the soft side faces into your base, never out toward raiders.
The Core Building Pieces
A base is assembled from a small set of pieces, each with a job. You will use these six constantly once you start building anything beyond a 1×1 starter.
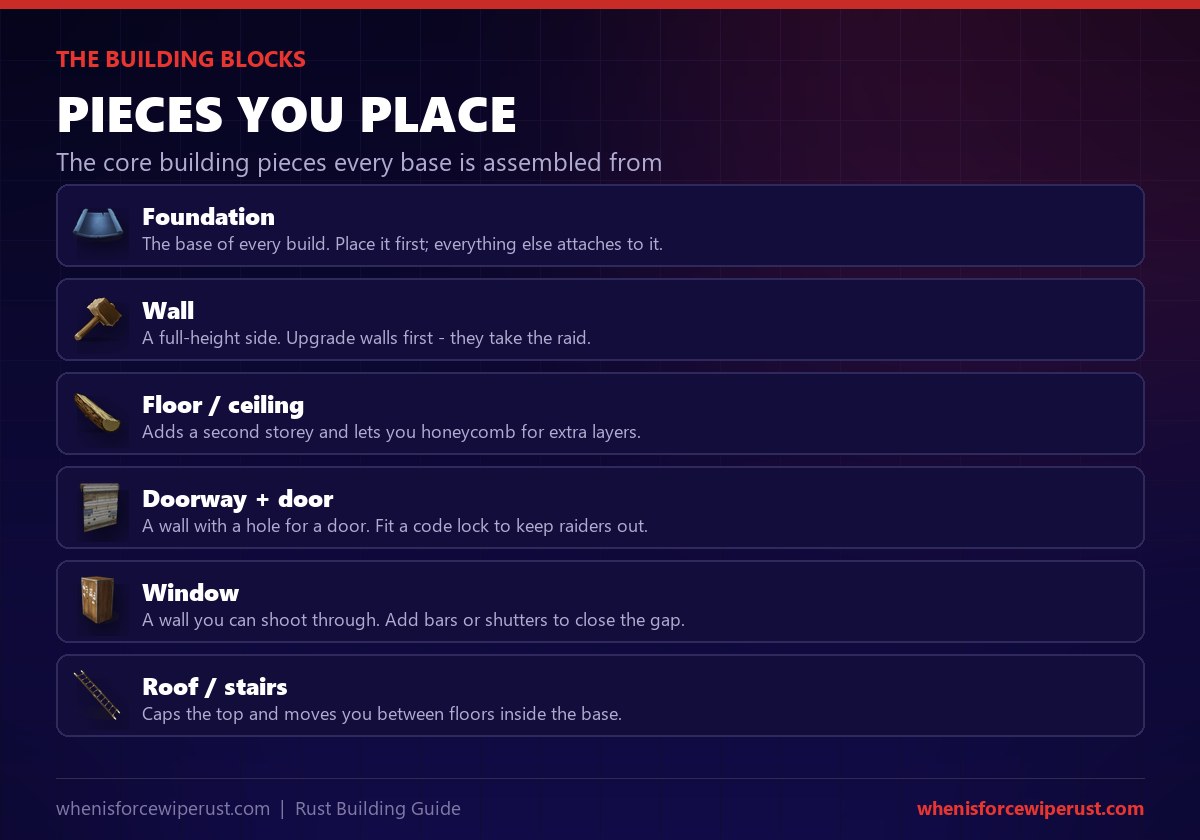
- Foundation. The base of every build. Place it first; walls and floors attach to it and it feeds stability upward.
- Wall. A full-height side. Walls take the raid, so they are the first thing you upgrade to stone or sheet metal.
- Floor / ceiling. Adds a storey above and lets you “honeycomb” – sealing extra cells around your loot room for more layers.
- Doorway + door. A wall with a gap for a wooden, sheet metal or armored door. Always lock it with a code lock.
- Window. A wall with an opening you can shoot through. Add bars or shutters so nothing climbs in.
- Roof / stairs. Roofs cap the top at an angle; stairs and ramps move you between floors inside.
Upkeep, Decay and the Tool Cupboard
A base is not free to keep. The moment you place a Tool Cupboard, the game charges a daily upkeep cost in the same materials your base is made of, drawn straight from the TC’s inventory. Let it run empty and your base begins to decay, grade by grade, until it collapses.
Decay is slower the higher the grade, which is another reason to upgrade. Roughly, with no upkeep, a wood piece dies in about 3 hours, stone in 5, sheet metal in 8 and armored in 12. That window is how long a base survives if the TC empties while you are offline – so keep it stocked well past your logout.
Building a fresh base for the new wipe? The monthly force wipe flattens every base on the server and resets the map. Check the live countdown so you know exactly when to start building again.
See the Force Wipe CountdownRust Building Pro Tips
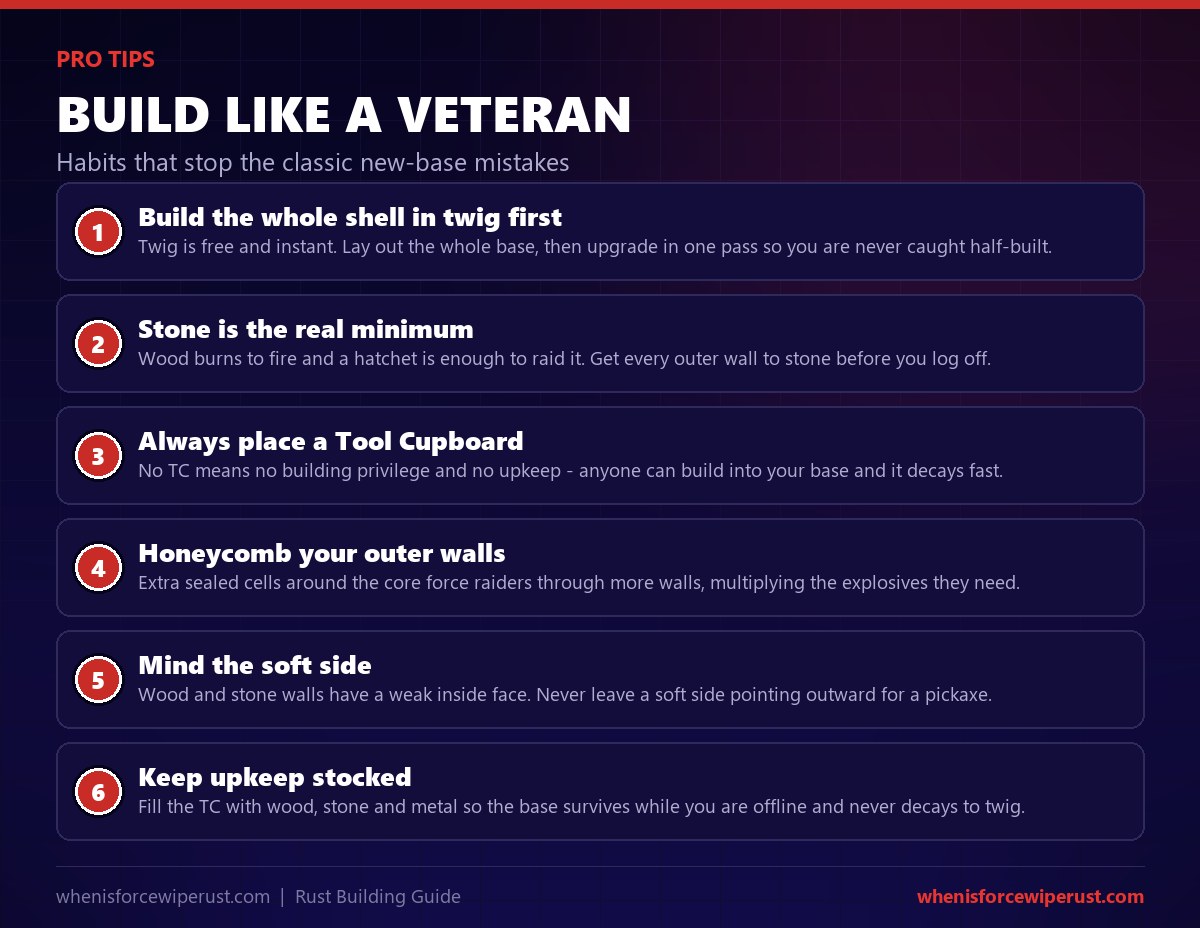
- Build the shell in twig first. Lay the whole base out as free twig, then upgrade in one pass. It is cheaper and you are never caught half-built.
- Stone is the real minimum. Wood burns and picks apart; get every outer wall to stone before you log off.
- Always place a Tool Cupboard. No TC means no building privilege and no upkeep – anyone can build into your base and it decays fast.
- Honeycomb your outer walls. Extra sealed cells around the core force raiders through more walls, multiplying the explosives they need.
- Mind the soft side. Every wall grade has a weak inner face – never leave a soft side pointing outward for a pickaxe.
- Keep upkeep stocked. Fill the TC with wood, stone and metal so the base survives while you are offline and never decays to nothing.
Rust Building FAQ
How do you build in Rust?
Craft a Building Plan from 20 wood and a Hammer from 100 wood, both default blueprints. Equip the Building Plan and place a foundation on flat ground, then add walls, floors and a roof, which all start as twig. Place a Tool Cupboard inside and authorise it, then hold right-click on each piece with the Hammer and choose a grade to upgrade it to wood, stone, sheet metal or armored.
What are the building tiers in Rust?
There are five building grades: Twig (10 HP, free, temporary), Wood (250 HP, 200 wood), Stone (500 HP, 300 stone), Sheet Metal (1,000 HP, 200 metal fragments) and Armored (2,000 HP, 25 high quality metal). Every piece starts as twig and is upgraded up the tiers with a Hammer. Stone is the practical minimum for walls you want to actually protect loot.
What is the strongest building tier in Rust?
Armored is the strongest grade at 2,000 HP per wall, upgraded with 25 high quality metal. It takes roughly 8 C4 to break a single armored wall, double what a sheet metal wall needs, which makes it the most expensive tier to raid. Armored still has a soft side, but a pickaxe needs well over an hour on it, so keep that face pointing inside like any other wall.
Do you need a Tool Cupboard to build in Rust?
You can place twig pieces without one, but you need a Tool Cupboard to actually own and protect a base. The TC grants building privilege, so only authorised players can build, upgrade or demolish inside its radius, and it holds the upkeep resources that stop your base decaying. Without a TC anyone can build into your structure and it rots on its own.
Why do my building pieces keep collapsing?
That is the stability system. Every piece draws stability down from foundations, and if you build too far out or too high with nothing supporting it, the piece hits zero stability and collapses the instant you place it. Add pillars, walls or floors underneath to feed support upward, or keep your build closer to a foundation.
What is the soft side of a wall in Rust?
Every wall has a strong outer face and a weaker inner “soft side” that takes more damage from melee tools like a pickaxe. When you place a wall, the soft side faces you. Always build so the soft side points into your base and the hard side faces outward, or raiders can break in far cheaper than intended. Sheet metal and armored walls have one too; it just takes much longer to break with a pickaxe.
How much does it cost to upgrade a wall in Rust?
Per wall, it is 200 wood for wood grade, 300 stone for stone, 200 metal fragments for sheet metal and 25 high quality metal for armored. Upgrading is one-way, and you only keep the value of the final grade, so going tier by tier wastes materials. If a wall is destined for sheet metal, upgrade it straight from twig to sheet metal in one step.
Does your base reset on wipe in Rust?
Yes. The monthly force wipe removes every base on the server and generates a new map, so nothing you build carries over. Blueprints reset on the blueprint wipe that lands with it too. That is why experienced players build efficiently early and check the force wipe countdown, so they know exactly when the map and every base will be flattened.
What is honeycombing in Rust?
Honeycombing means sealing the extra triangle or square cells around your core loot room with their own walls, so a raider cannot simply blow one wall to reach your loot. Each sealed layer is another set of walls to break through, multiplying the explosives a raid costs. It is one of the highest-value building habits for protecting what you store.
Sources and Further Reading
- Building system, grades and mechanics: Rust Wiki, Building
- Tools, resources and how to build: Corrosion Hour, How to Build in Rust
- Upkeep, decay and base protection: Rustafied, Building in Rust
- Wall grade health and raid costs: whenisforcewiperust.com, Metal Wall Guide
- Building privilege and upkeep: whenisforcewiperust.com, Tool Cupboard Guide
- How bases rot without upkeep: whenisforcewiperust.com, Decay Guide
- The game itself: Facepunch Studios